
Drexel Avenue Project - All About Exteriors!
We have been settled into the finishing of our exterior for just about 2 weeks now. I can say with certainty that no one in the neighborhood is sorry to see the siding start after months of staring at our haphazard exterior. In order to get the siding crew on site, we needed to have the materials ready and waiting for them. In order to get the materials on site, we needed to have a plan that noted what materials we wanted where. You can certainly cut a siding crew loose on your house and end up with a completely sided house when they are finished. But if there are details you want to see executed, specifications you want, material and finish preferences, etc - you need to make sure you have a thorough plan and a detailed list of what goes where prepared for your crew.

To start, our Residential Designer Susan Nackers of LNA Design came up with a siding plan. On our exterior elevations, she noted dimensions of siding reveals, widths of trim, soffit materials, corner details, material selections, among many other notes. We spent time with the plan at length seeing how one element would relate to the next, what details we felt would feel original to the home and looked for opportunities to dress things up whenever possible. We also spent time sourcing materials we felt would complement our home’s classic colonial exterior while balancing a finish that would be low-maintenance and enjoyed for years to come.
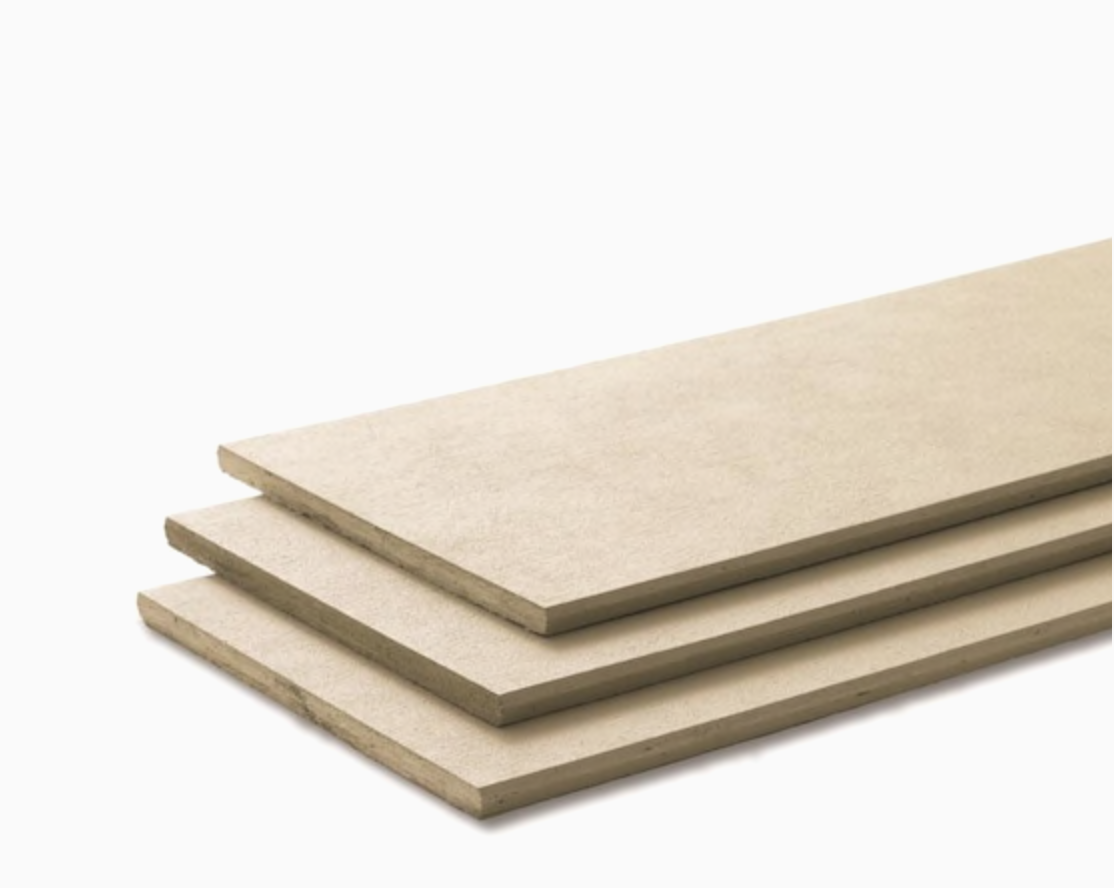
For our project, we selected an exterior siding product called LP SmartSide - a wood composite lap siding installed a board at a time. The first option in selecting our materials would be to decide if we wanted to have a smooth or wood grain finish to the siding. The pros of LP’s wood grain product is that it also comes pre-finished, which means you can choose from their assortment of factory finished color options that won’t require painting after installation. Truth be told, while the pre-finished option is attractive and certainly offers some cost savings with not having to paint post install, the color selection is rather limited and we hadn’t fallen in love with any of the options. Our preference was also for a smooth finished exterior, so we opted to have the siding installed primed, which would default to painting upon completion (weather permitting).

We chose to use LP SmartSide smooth trim boards as well. This allowed us to create the window header look above each of our windows, add a frieze board just below the soffit of the house and also acted as the fascia boards.
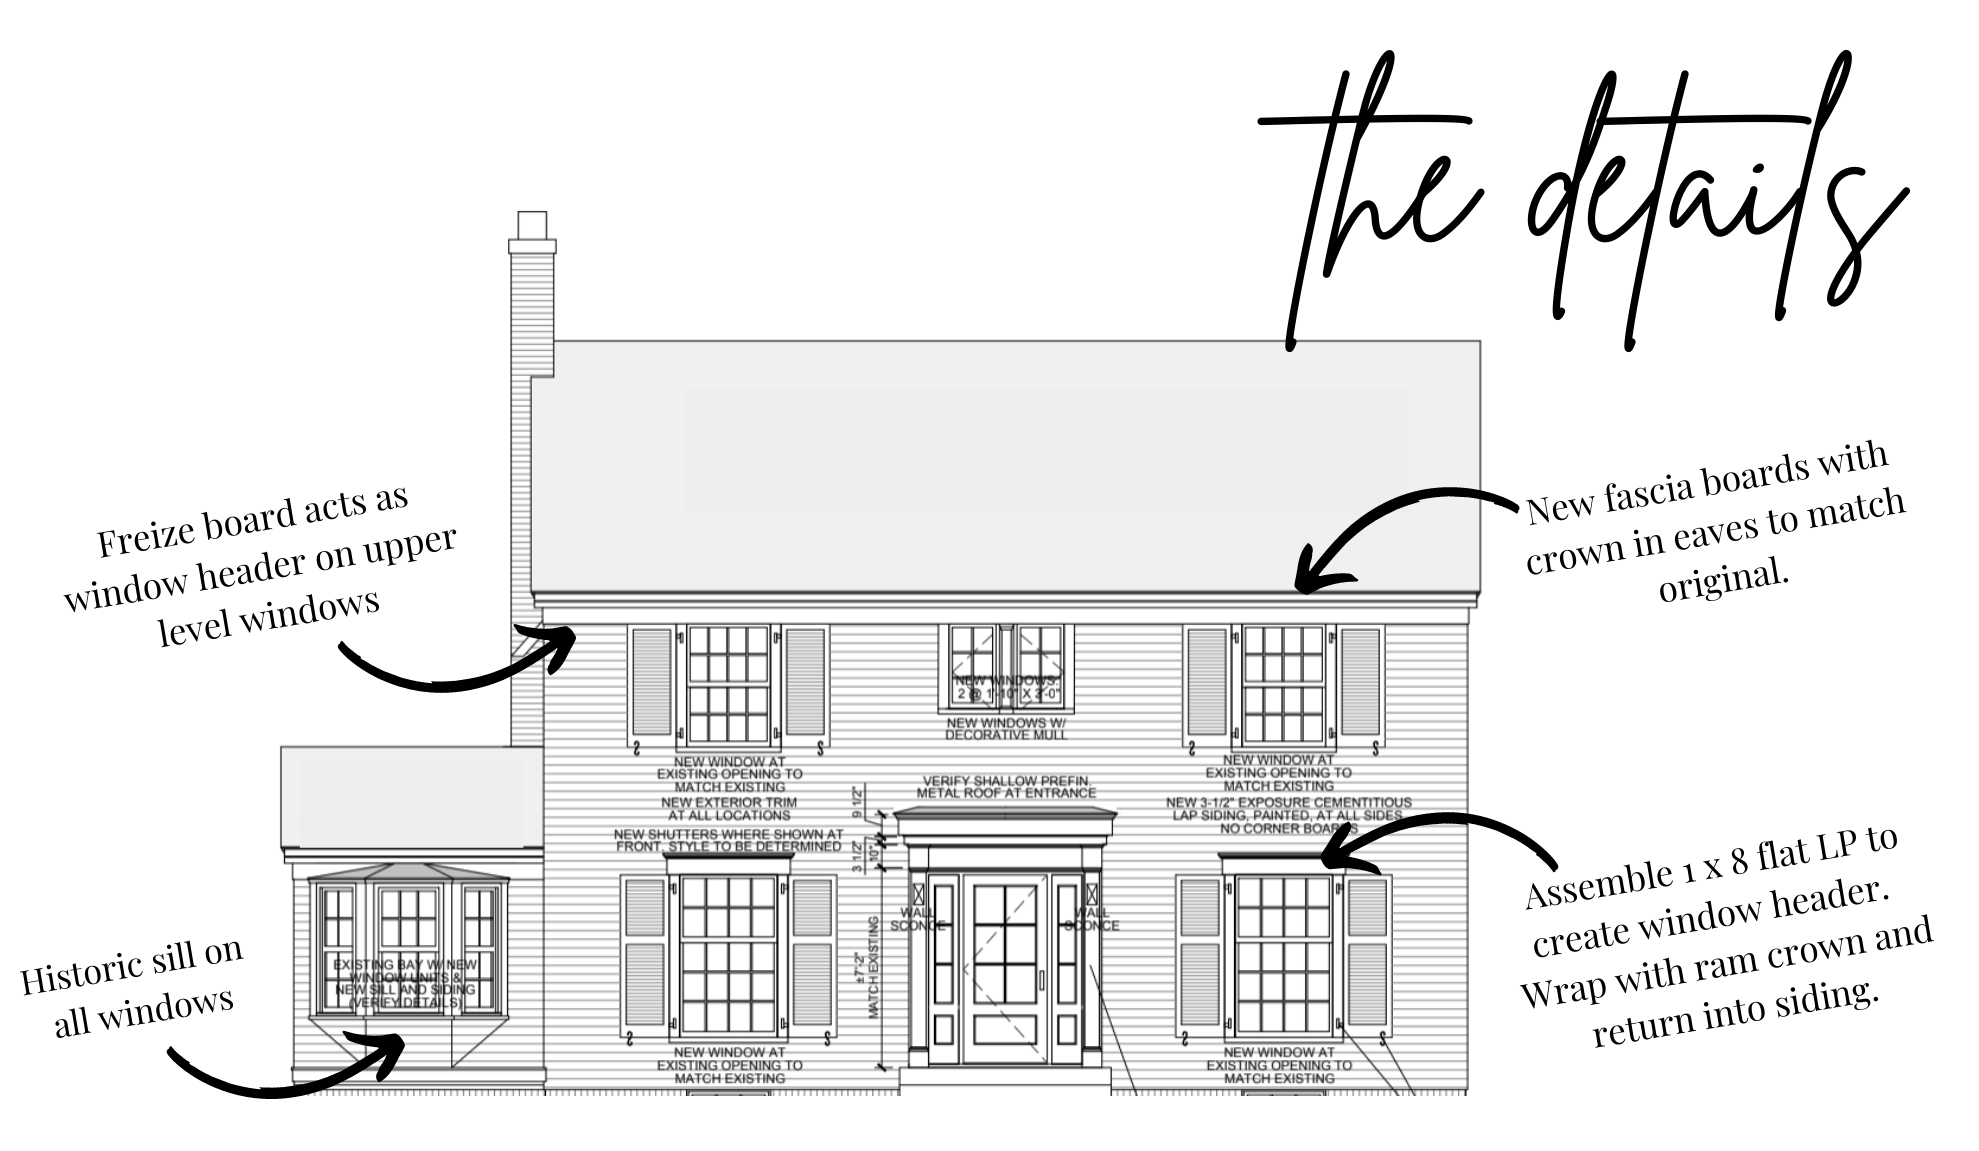
To add more historical detail, we ordered a few different PVC trim options to ‘cap’ the window headers with crown moulding, run crown up the fascia boards in the eaves of our house, add an ogee profile to areas we were paneling and sourcing a historical sill. Many of these same profiles we discovered as we demo’d the aluminum wrap that had been installed on areas of our home - so it was exciting to uncover the original details and try to recreate them in more weather-resistant materials.

How to address inside and outside corners of your siding is another decision you’ll be faced with making. Installing a corner board is one option - a vertical board that runs the height of the corner giving the siding a place to ‘die’ into. The other option is having the siding ‘wrap’ and continue around the adjacent corner. Perceived as a more traditional detail, we opted to wrap our corners, which would require the installation of a metal corner finish piece to give the illusion of a mitered seam.

Some installers will go as far as to miter the corners - but it requires a thicker siding than we had sourced for our home. Once everything is painted, the metal corners should blend into their surroundings and essentially disappear. It’s worth noting that fussing with these metal corners adds labor and cost - about $50 per square of siding. Siding and roofing are measured in ‘squares’ - which is the equivalent of 100 sqft of material.
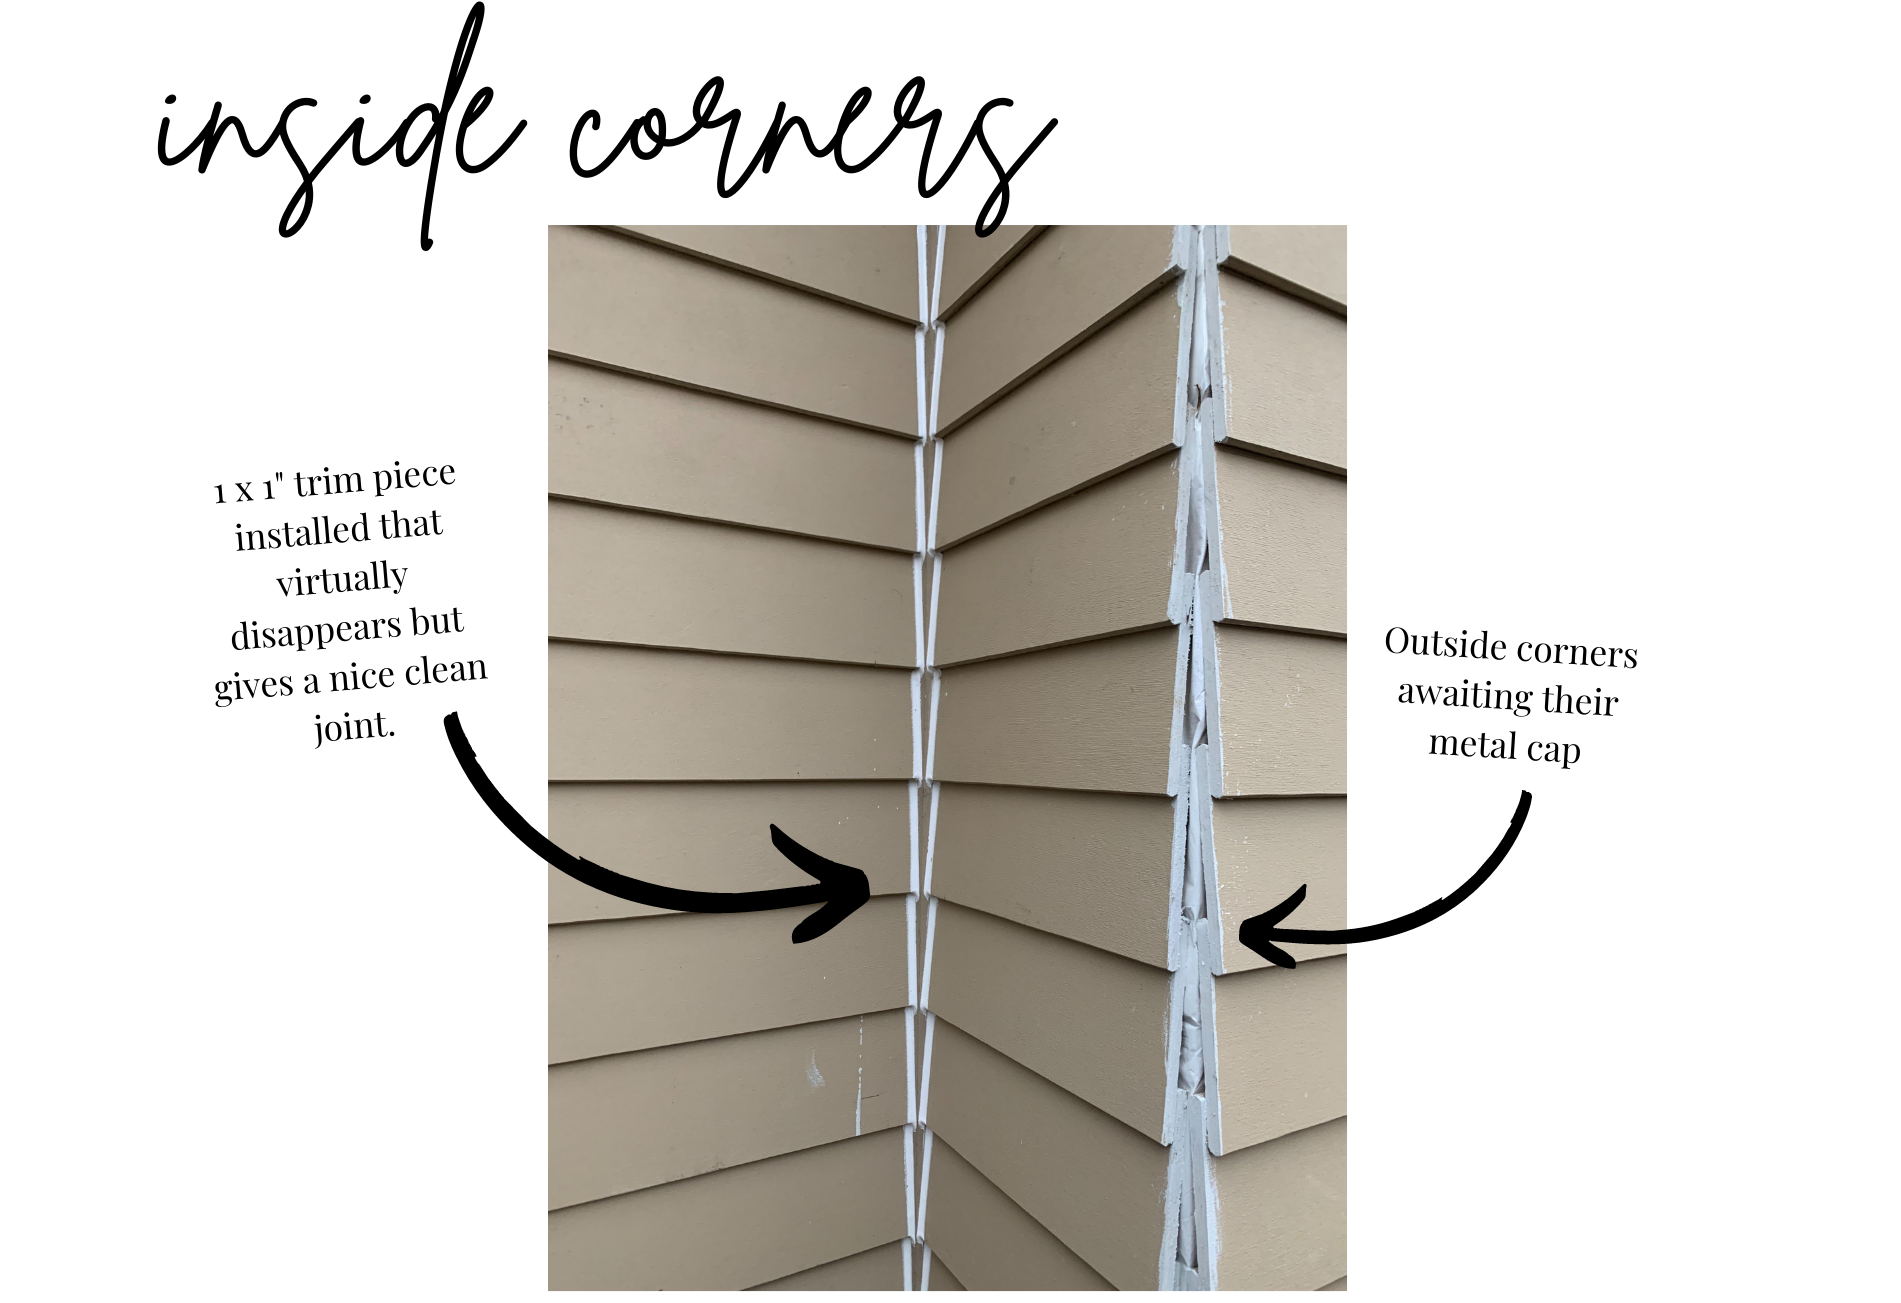
Given we didn’t have corner boards, we also had to decide how we were going to address inside corners of our exterior. In our case, we chose to install a square, 1 x 1” trim board that would be almost invisible once the siding was installed while still giving a nice clean finish to the two adjoining walls.
The soffit of your home lives under the eaves and acts as an area of ventilation for your attic. Good air flow in your attic space is critical to preventing some of our winter’s worst side effects - ice dams. You will often see ventilated soffit material made out of aluminum - but there are many options out there. LP has a lovely vented soffit material, however, it only comes in their wood grain finish. In our case, we did a smooth soffit with a strip vent by Lomanco. It has a nice tailored look and blends perfectly with the rest of the house. Once painted - it should all blend seamlessly.

We also opted to install metal roofing on 5 different accent overhangs around our home. Areas like the front and back door overhangs, the two bay windows in our sunroom and the bump out over our kitchen sink. It has been quite a task finding metal roof installers in today’s construction climate - so our siding installers have left holes for their flashing that we’ll go back and side once they are complete. Many metal roofers prefer to fabricate their own materials - but you can also order metal panels and their corresponding parts through an exterior supplier like ABC. Not all roofers do metal roofing - so be sure you are working with someone experienced in the craft.

Here are a few other miscellaneous notes to consider taken from our experience:
Given the location of our garage relative to property lines, the City of Edina required us to install Type X Fire Resistant Drywall on both the interior and exterior of our garage walls to create a ‘one hour wall.’ A wall constructed in this manner is designed to contain flames and high temperatures as well as support its full load for at least one hour after a fire begins.
Take into account that whatever material you select will have particular sizes of boards to choose from. We were hoping for 4 1/2” wide trim boards - but LP only comes in 3 1/2” or 5 1/2”. Rather than having to manipulate every single piece of trim, plan accordingly for what the manufacturer stocks.
Your exterior supplies are delivered in a giant palette or two. Make sure you have a detailed list of what’s intended to go where (regardless of who planned it). The boards are often miscellaneous sizes in a single palette - so there’s a degree of sorting and sifting to be done to get things in order.
The very first step after removing the existing siding is to wrap the house. The city requires a house wrap inspection before you can proceed with siding. Be prepared there may be a few days in between to get the inspector out there.
Like seemingly everything these days, exterior materials are accompanied with long lead times and sparsely available materials. Plan early and leave yourself 6+ weeks for delivery.
Windows are a whole other topic that we’ll dive into in another post!
We still have more details coming for our exterior - like flat panel shutters with operable hardware, lighting, an address plaque, mailbox, beautiful glass doors and a striped awning if I can get my family on board. You can get an idea of the finished product on the mood board above.
Given the temperature, we won’t be able to paint until Spring - keep this in mind when you are scheduling your exterior project. On a positive note, it will give us plenty of opportunity to sample and visualize before committing to the perfect shade of white. When we do paint, it will be some version of an all white house - with perhaps a second shade of white on some of the trim, shutters and accents. But that front door will be my favorite color blue (Benjamin Moore Boothbay Gray?)
What questions do you have about exterior siding materials? I’d love to connect you with our second generation exterior building supplier and friend at ABC Supply for more information. Or if you’re looking for recommendations of who should install your siding locally - I’ve got names for that too! Feel free to leave your questions here or submit them through our ‘Ask the Builder’ button on our project homepage. Tune into Instagram for more looks at our almost completed exterior!